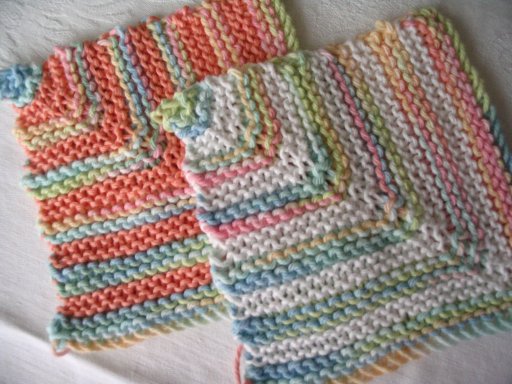
I made a few garter stitch dishcloths the other night. The one on the right is called Grandmother's Favorite from The Dishcloth Boutique. The one on the left I made up myself.
I had a scrap ball of yarn and wasn't sure how much was there and didn't feel like measuring the yardage, so I decided to knit a mitered square backward, increasing instead of decreasing, until I ran out of yarn. This one turned out the same size as Granny's Fave, about 7 inches square. Here's how I did it:
Using worsted weight cotton yarn (Lion Kitchen Cotton or Sugar and Cream) and a pair of size 7 knitting needles, CO 3 sts.
Row 1: K1, YO, K1, YO, K1.
Row 2: K across.
Row 3: K2, YO, K1, YO, K2.
Row 4: K across.
Row 5: K3, YO, K1, YO, K3.
Row 6: K across.
Continue knitting alternate rows of increasing (YO before and after the center stitch) and plain knit until you have 63 stitches on the needle (or you have only 1-1 1/2 yards of yarn left, or the side of the square measures your desired size). Bind off.
No matter how much or how little you knit, the piece will always be square.
Edit:
 I have gotten a few emails about this pattern. I don't think I've explained it well enough, so I'm going to show how it works.
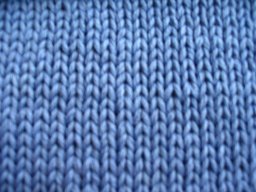
When you try knitting those first 6 rows as I've described, it doesn't really look like much, as you can see in the photo at left.
Just how is this going to become a square? Don't I need to decrease someplace to make enough corners? Where are the corners anyway?
No, actually, you don't need to decrease to make it end up a square shape. Check this out.

 Knit a few more rows, increasing before and after that center stitch on odd numbered rows like you've been doing. Start row 11 and stop at the middle stitch. The photo at the left is what you will see.
It is starting to look kind of square. Work a few more rows and in the middle of row 15 you'll get something that looks like the photo at the right.
Note: You can only see the square shape when you stop in the middle of a row and hold your needles at right angles to each other the way I have done here.
Now do you see how it works? Each row you add is on the same 2 sides of the square, making it bigger and keeping it evenly square in shape.
I do hope this clears up any confusion.